Tuesday, 3 March 2009

When Worlds Collide effects shots


What a joy to come across these. This is what its all about for me.

Battlecruiser - the top area


Quite a bit of progress - had a 15 hour shift at work Saturday all by myself so took the ship and loads of bits in and worked on it whenever i had a spare 10 minutes or so. You can see i've stuck with my idea of the upper midship area being the most detailed. I've also filled the rest of the bare upper area with some corrugated Plasticard. I'm also sticking with my initial idea of the sides being mainly bare. They actually look busier than they are because of the different coloured Go-Fasta stripes i've been using for panelling. Of course, once all the same colour, they won't be too noticible.I hope.

Friday, 27 February 2009

Battlecruiser - more detail


Okay, had another go at some detailing. What i like about doing a scratchbuild is the ability to go at your own pace, adding bits randomly, just wherever and whenever you like. Which is what i've been doing here. Put some more on the front - which the photo makes parts look wonky, but they're not. The dark green pieces are from 1/72nd Revell helicopter that i bought just because it has loads of tiny detail. The big grey slab thing is, of course, the mandible insert from the MPC Millenium Falcon.


I've ummed and ahhed as to what to do with the top, and here's the start of it. Thinking the main detail will be in this mid-section, with thinner detail fore and aft. To the aft are two pieces left over from a M.a.K project and the white large piece is from the Airfix SRN4 Hovercraft.


And here i'm building up the engine area. The grey pieces are from the HMS Belfast (great kit for parts) and, again, the white pieces are SRN4.

Friday, 13 February 2009

Battleship - the three sections


Okay my modelling chums, leaving you tonight for a weeks holiday but thought i'd show you where i'm up to with this beastie.


And here's the three separate sections put together. I toyed with different shapes for the engine area, mocking them up with Foamboard, but eventually decided to try and follow the lines of the main section. The connecting piece is interesting. Martin Bower sent me a bunch of greeblies last summer and in there was this. Its nothing more than a length of EMA tube with BIC disposable razor safety covers glued all round. Very simple and very effective.


Here's a closer look at that piece, and the very end of the engines. I was going to go with a traditional engine bell affair but then changed tack and went with this - two pices from two Starfury kits glued togteher. I was going to busy up all around them, but am now going to put a frame around it to just show these two.

Sunday, 8 February 2009

Battlecruiser - paint scheme


Been thinking too that, after all the matt, camo schemes i've been doing for the Ma.K kits of late, that it'll be refreshing to go the opposite way.
So, a Peter Elson/Chris Foss scheme it is then. Thinking yellow with green detailing - think the colour opposite of Thunderbird 2.

Battlecruiser - getting started


So here we go with putting on plasticard panels and also the tried and tested Go-Fasta stripes.


I want to have a slab-like feel to the sides so won't be putting anything on that juts out too far. You can see that i've put on a rounded shape, which is the underside bit to a tank turret. Thinking that maybe its an airlock, i scribed the plasticard vertically underneath it to suggest doors.


What i don't want though is everything to be 90 degrees to each other and pretty bland, so will be having a bit of variation in places. This applies to the front, which i don't want to be just a flat surface. Was thinking of building a command deck area out from this bit and my son's suggestion that it looks a bit like a Jawa Sandcrawler has me thinking i'll try and emualte the front of that. A bit.

Thursday, 5 February 2009

Battlecruiser


Been looking around for something new to build - but spare cash is non-existant. So thought i'd have another go at a scratchbuild - they're cheap, uses up a lot of ammased junk and no-one can tell me i'm wrong.

So three quid spent at the craft shop gets me a large sheet of 3mm foamboard and here's the start.

I've deliberatly gone for a design that's a lot of flat surfaces - for some reason most of my scratchbuilds have been curved shapes, which create all sorts of problems and limitations when adding detail and i wanted to do away with all that.

I wanted a nice blocky battlecruiser look, with a big bulbous front a la the Dreadnaughts in Babylon 5 or Mark Harrisons ships in Durham Red. I also wanted to contrast it with some curves somewhere to break it up a bit and went with what you see here - a nod to Henry Flints brilliant ship design in Shakara.

Not started yet will be an engine section at back joined by a tube i think.

Psydon Ship - thank you Mr Bower


These bumps either side of the neck were always going to be a problem. I've known for quite a while that they're from the AMT "Man In Space" kit, which is pretty scarce these days and a LOT of money when i only need a couple of tiny bits from out.

Talking about it to Martin Bower and it turns out they're actually a combination of that kit and EMA.

Depression sets in - but next day Martin had bunged a couple that he'd made up for me in the post and here they are.

Dead chuffed with them. The only thing i have to do is widen the blanking plate they sit on as i'd not made it quite wide enough.

Lunar Dweller


This is the start of the group build project over on the SFMUK site, to commerate the 40th anniversary of the moon landing.

Basically, do anything you like as long as it has some connection to a Lunar landing.

Not giving too much away just yet as i may well change my mind how i'm going to go about it.

But here's the start - its an Airfix Lunar Module that'd been part built and painted (rather badly) and that's why i got it cheap.

Didn't mind though as i originally bought it just for its feet, needing them for my Psydon Ship.

So i'm gonna end up with a footless LM, but a few carefully placed lunar rocks should disguise that.

Monday, 2 February 2009

Andrew Glazebrook's Blog

About time i pointed you in the direction of Andrew's Blog page - always entertaining, always interesting and one i check out most mornings with a coffee.

http://bsmbow.blogspot.com/

Top work there Andrew. Jealous much that mine's not so much fun.

Psydon ship - another disaster


So, still pleased with myself for getting that Saturn 1B, even more so when i realise the part for the neck fits really snugly over the B&Q piping i've used for the support rod (pic2).


But now i've got this far, something that's been bugging me for a while now is how does the neck attach to the very curved rear of the Command Module? (pic1)


I first thought it must actually be recessed into the beak, but the neck is situated very low down on it - pretty much half on the beak, half hanging down, as does the flange around it (pic3 shows the flange hanging down on the underside).


But as you can see from pic 4, the neck seamlessly fits onto the CM.


Was having a natter with Martin Bower last night and he said the reason it does that, and i REALLY should have spotted, is that the back of the original was flat. Mine's not, it being a vacform of a 44inch Eagle beak.


So what the heck am i to do?

Thursday, 29 January 2009

Psydon Ship - i'm a happy bunny


Been a bit frustrating that i haven't been able to go very far with this project. That's because i need an Airfix Saturn 1B 1/44 kit before a i can glue parts on, plus need to have the dimensions of parts to make other parts. Its doubly frustrating in that the kit is pretty rare, and therefore goes for big bucks when it does appear.


But just got one off eBay for a very resonable 27 quid so awwaaaaay i go. Here's the two main parts that i needed, just plopped in place for the pics.

Saturday, 24 January 2009

Sulaco - painting


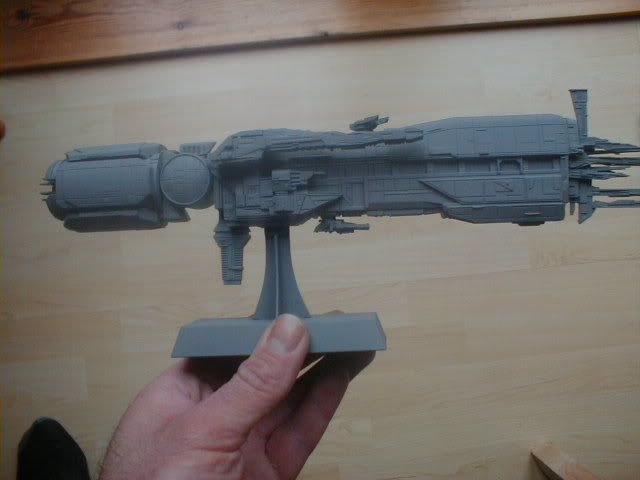
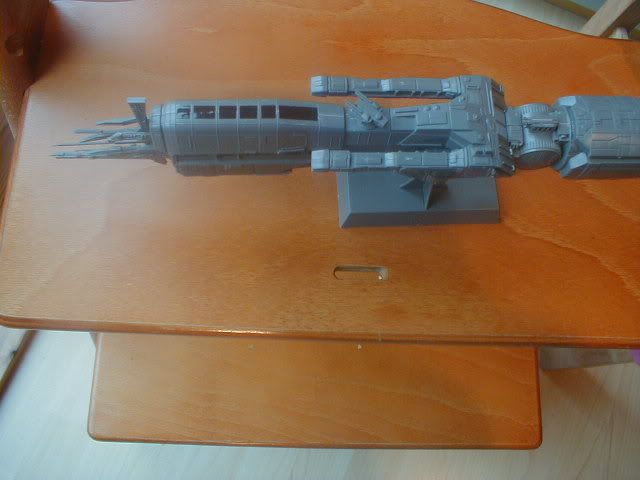
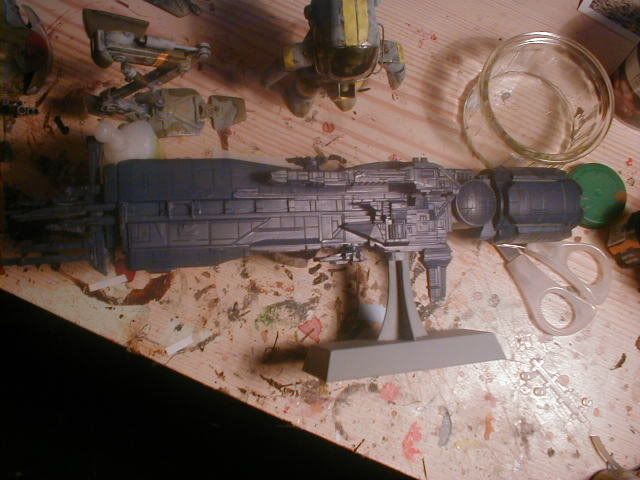
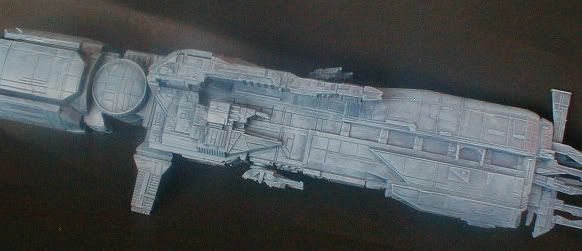
A breeze to build this - if i hadn't had to wait for the prongs to set, it'd been done within a couple of hours.


Top pic is it all assembled. The only glitch i had was trying to remove the sprue mark at the front. Normally that'd be sanded down, but here it was between raised panel lines and if'd done that i'd have lost detail. Instead, i've scraped away as much as i could then disguised it with a new panel over the top. Kept on with the new panels all the way along that join.


Other pics show it in primer, based in GW Fenris Blue and then where i am at the moment - drybrushing with that mixed with lighter greys. Have to decide whether to leave a lot of the blue apparent, thereby simulating how it looked onscreen, or keep going into proper grey so as to have it more like the actual model.

Thursday, 22 January 2009

Sulaco - intricacies


Here's the finished sensor array and engine area. SO fine detail, they were great fun to do, but the instructions for the engine area were not at all clear and very fiddly to do.

Sulaco - simplicity and cunning


Top photo is how far you get with only 5 parts attached. Simple to do, but the details so detailed it looks great already. Next two shots show how cunning Halcyon were: there's a whacking great join up top, but its all concealed by this top piece. You can see here by the way that i've some work to do filling down the sprue joins aft.


U.S.S Sulaco


Its very strange, i got all the Halcyon when they first came out - except for the Nostromo (which was out of my price range back then, and even more so now) and this one. Dunno why - i love the design and its Injection Plastic, my medium of choice.


Anyway, been keeping an eye out for one since i've got back into hardware but they've always gone for big bucks on the 'Bay.


But finally got one for 20 quid from Italy. It was with some trepidation that i opened the box as its always had sniffy reviews, mainly over its size. But, what're they on about? That's a decent enough size, lovely intricate detail and looks to make for a neat finished model.


If there's any surprise its the few parts that go up to make it - and most of them go on the sensor array.

Wednesday, 21 January 2009

Jock sketchcards


Bit off-topics but thought you might like to see some of the 2000AD sketch cards that the mighty Jock did especially for this Squaxx.

Sunday, 18 January 2009

Tony Hart dies


Awww man.


Bad enough that so many of my childhood heroes have gone now, but when its the gentle, artistic, charming, unique characters, its worse.


And Tony's passing so soon after Oliver Postgate is doubly so.


They were totally unique, and we'll never see their like again.


I feel sorry for the generations of kids who've come after their retirement, and now passing, who'll most probably never be exposed to their genius.