Sunday, 30 September 2007

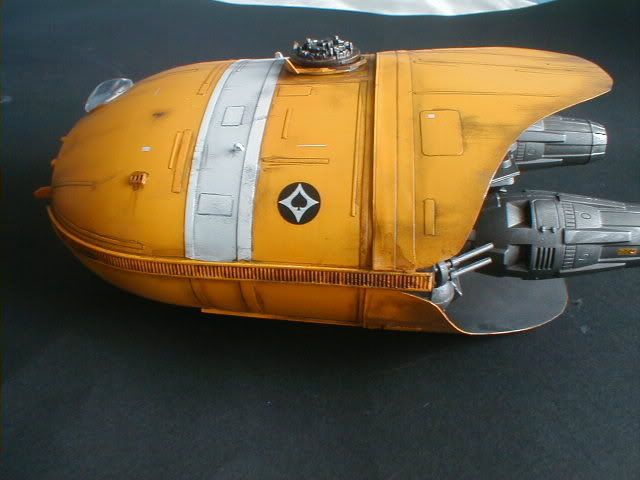
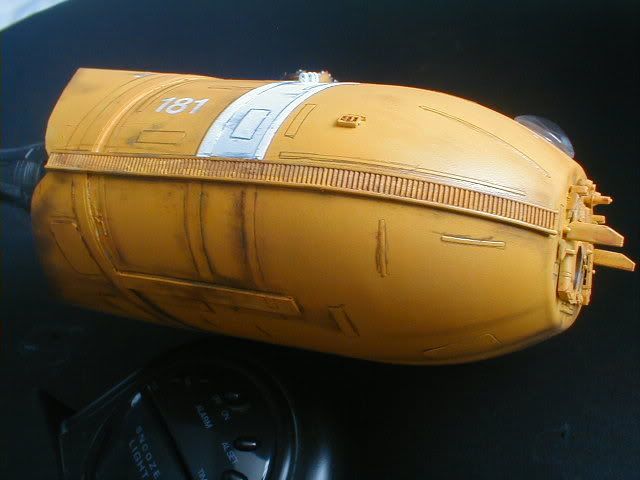
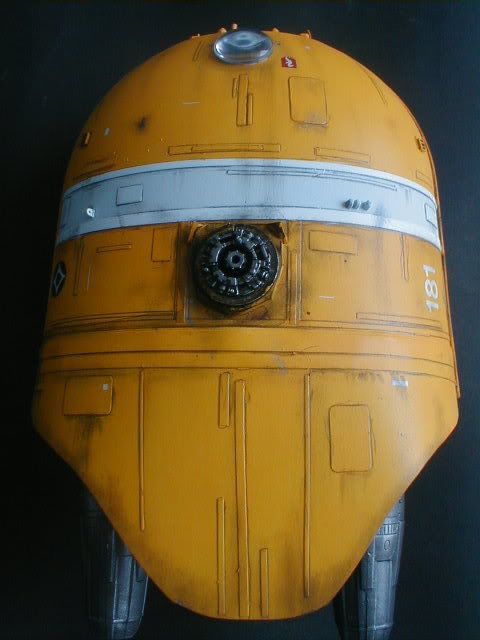
Drop Pod - weathering nearly all done


I've gone back in with black washes to darken down some of the still white, along with running it into nooks and crannys to darken it up a tad.

Also washed Raw Sienna over the rusty pastelling to give them a bit more depth.

Drop Pod - back half weathering


Here we go then.

I've painted in the engine area in flat black then pastelled all round the openings.

The pastellings near done now, which looks ok but its all one shade of matt and there's too much of a conrast between that and the white.

Sunday, 23 September 2007

Drop Pod - weathering 3


Here i've finished one half of the hull - and stopped and sealed it.

This is because, if i went and pastelled it all in one go, i'd be smudging like mad when holding it.

By sealing now, i can finish it off by holding onto this sealed section.

The pastelling looks a bit garish at the mo, with too much contrast and not enough real blacks in there.

This will be rectified once the pastellings done, everythings sealed and i put the metallics on.

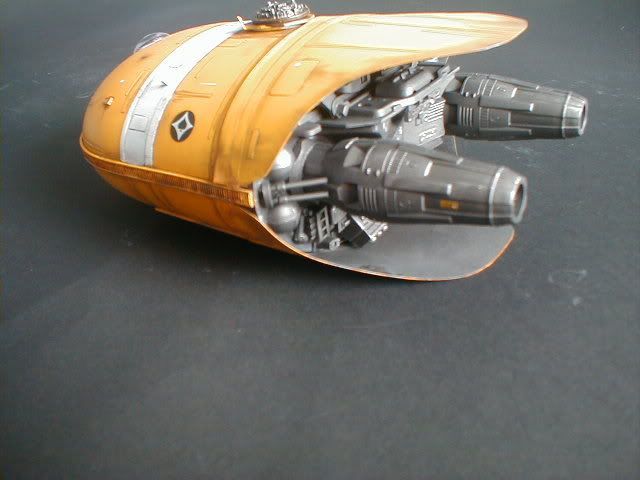
Drop Pod - a cheat


Haven't got enough spares in the box for a bunch of engine nozzles.

That, and the fact that i wanted to get away from the Escape Pod look, had me trying to think of another way of having the engines.

In the end decided to go for a cowl hiding the actual nozzles and here it is.

Its actually the top of a toothbrush holder and there's no nozzles inside - figure if i paint the interior black and have loads of scorching around the holes, i'll get away with it.

Drop Pod - weathering 2


And here it is with the washed out areas drybrushed in white to make the detail pop out.

Now i can start with the serious pastelling

Drop Pod - weathering 1


As i say, its gonna be heavily weathered using pastels.

That's all well and good for the streaks and stuff, but the powders not fine enough to get in all the fine detail.

So, here it is in the Skull White basecoat and a wash of black in all the tiny detail.

Thursday, 20 September 2007

Drop Pod


And here it is primed in grey.

Gonna base it in Games Workshop Skull White and heavily pastel it.

Drop Pod - a blast from the past


If you've been here since the start, you'll remember this - one of the first projects i started.

I only got so far, then went off it a bit as i moved more and more away from my original intention, to make a Star Wars Escape Pod.

But, its been bugging me that its just sitting on the bench gathering dust so, after dusting it off and finishing the greeblie sticking, here it is finished.

Not so much an Escape Pod, more a Drop Pod. Similar to those in the novel Starship Troopers, Rogue Trooper in 2000AD or in the 40K universe.

Tuesday, 18 September 2007

Jabbas Palace - trouble with the aliens


As i say, some of them are pretty accurate - but come with these whacking great slabs for bases which i'll have to remove.

Jabbas Palace - The problem with Boba Fett


Oh dear... HOW lanky????

Jabbas Palace - why i can't use R2


Jabbas Palace - what was i thinking?


Saw this going cheap on eBay for 3 quid.

Built one when it first came out in 1983 and seem to remember i thought it was "alright" but not much more.

But, it was cheap, i'm still in Star wars mode and a lot of my projects are nearing the end.

So bought it, opened it and, boy, memories cheated.

The vac form and IP base is quite good, some of the aliens are pretty accurate (thought there's not enough of them) and Leia as Boushh and Chewbacca are alright.

But...

Han!

Luke!

C3PO!

R2!

Oh dear...

No WAY could i use them.

So, had to think of a way of displaying the scene without using the main characters.

As it also comes with Boba Fett and Solo in Carbonite, i hit on the idea of depicting the moment when Fett delivers him to Jabba.

Could explain away why there's not too many aliens there- they hadn't all turned up at that point.

Oh, you'll see some of the figures were started - the guy i bought it off of started it 20 years ago but lost interest. can't think why...

Y Wing - finished


What a great kit to build, a joy from start to finish.

Really have to commend Fine Molds, both for this kit and the fact that all their Star Wars subjects are 1/72nd scale - you get a unifom look to your fleet and they don't take up too much space.

Now, what do i get next?

Friday, 7 September 2007

Cyclops - finished


Here she is, all pastelled, sealed, then the metallic bits picked out.

Had a blast on this project - which was real cheap being £2.50 for the striping and a quid for the Plasticard - and i'm really pleased how she's come out.

Now she's done, there seems to be a bit of the Flying Sub to her more now than the Spindrift.

Hmmmm.... I'm subconciously making Irwin Allen craft!

Thursday, 6 September 2007

Y Wing - all decaled up


Here we are then.

All assembled, bar the top gun, and with the decals on.

Gold 3 seems to have far less damage than the other two options, so there's considerably less decals to apply.

Next up is to go over the panel lines in pencil where the yellow decals have covered them up, then its break out the pastels time.

Tuesday, 4 September 2007

Y Wing - ready for decals to go on


Cyclops - all decaled up


Next up, the pastelling

ARC 170 - bit of progress


Finally pulled me finger out and primed it in grey, followed by white.

Beauty of snap kits is that i can leave it in sub-assemblies like this to paint.